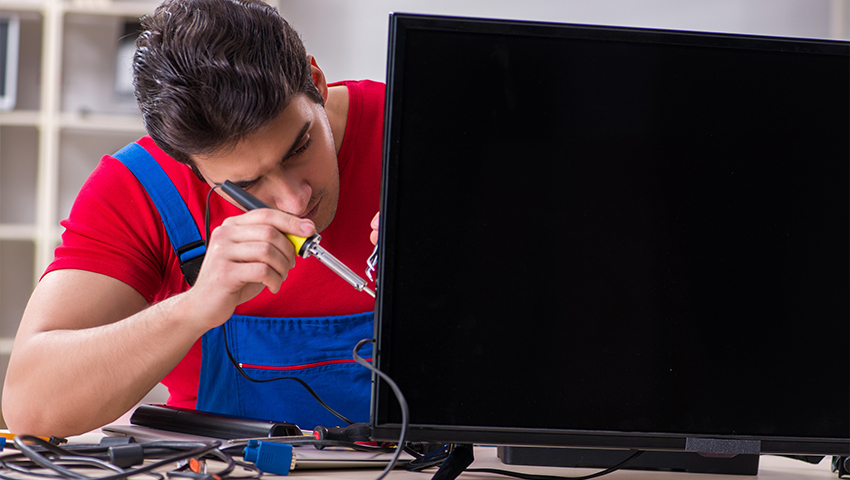
LCD Repairs
Repairing the LCD of a mobile phone involves addressing a cracked,
unresponsive, or damaged display. Here are the common steps involved in an LCD
repair:
1. Diagnosing the Problem
Cracked Screen: Visible cracks or lines on the screen.
Unresponsive Touch: The touch screen is not responding to inputs or only
partially responding.
Dead Pixels or Black Screen: Portions of the screen have black spots, or the
entire screen is black but the phone is still functioning (you can hear sounds or
feel vibrations).
Discoloration:Odd colors or lines appearing on the screen, often a sign of
internal damage.
2. Required Tools
Replacement LCD Screen: Purchase the correct replacement LCD screen for your
specific phone model.
Pentalobe, Phillips, or Torx Screwdriver: Depending on your phone model,
these screwdrivers will be needed to open the phone.
Plastic Pry Tools and Suction Cup: Used to safely lift and remove the screen
without damaging other components.
Tweezers:For delicate handling of small parts and connectors.
3.Preparation
Power Off the Device: Always power down the phone before starting.
Remove SIM Card:Take out the SIM card tray to avoid damage.
Heat the Edges (if necessary):Some phones require heating around the edges
with a heat gun or hair dryer to loosen the adhesive.
4.Screen Removal
Unscrew and Pry:Use the appropriate screwdriver to remove the screws securing the screen.
Gently use a plastic pry tool or suction cup to lift the damaged LCD screen from the phone casing.
Disconnect Cables: Carefully disconnect any ribbon cables or connectors attached to the old LCD screen.
5. Installing the New Screen
Position the New Screen: Align the replacement screen with the phone's body.
Reconnect Cables: Attach the ribbon cables and connectors securely.
Screw Everything Back: Secure the screen in place with screws and check the positioning.
Test Before Final Assembly: Power on the phone to ensure the new screen works before sealing it shut.
